Downlight Buying Guide
Kiwi homes come in every shape — from a sunny new-build lounge to a north-facing kitchen that never quite feels bright enough. Get the fitting, beam and colour right, first time.
Your cart is empty
Have an account? Log in to check out faster.
Kiwi homes come in every shape — from a sunny new-build lounge to a north-facing kitchen that never quite feels bright enough. Get the fitting, beam and colour right, first time.
Higher ceilings need closer spacing to keep the same brightness at floor level. Keep the outer row at least 500mm from any wall or light fitting. Enter your room details above to see suggested fitting spacing.
Downlight count isn't just about floor area — it's about matching lumen output and spacing to the room you're lighting. Measure up and we'll point you at a starting figure.
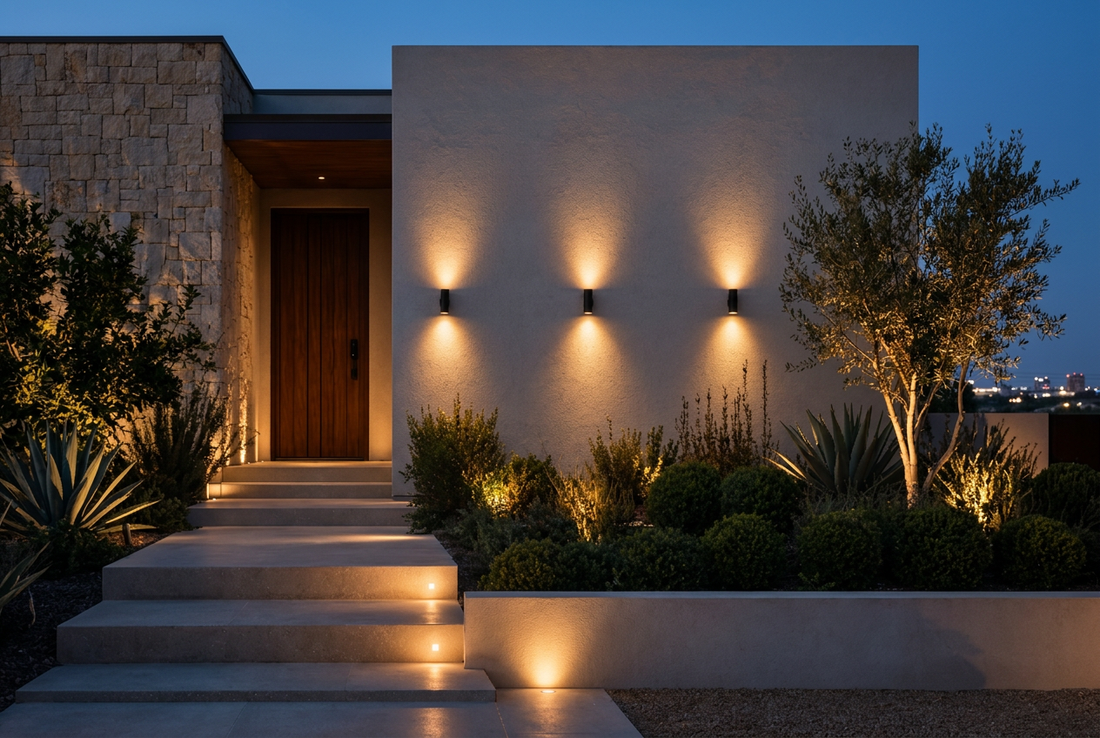
For washing a facade or feature wall with the Duo 48mm accent light, SKU 25042. This uses distance from the wall and beam spread, not floor area, since the light is aimed sideways at a surface rather than down at the floor.
Duo 48mm, SKU 25042: 200lm, 36° beam angle, IP54. Recessed fittings must be installed by a licensed electrician. Enter your wall details above to see suggested fitting spacing.
In kitchens and bathrooms especially, getting the spec right the first time saves a callback. Here's how to get the fit right.
Medium (25–45°) is the safe default for most rooms. Go narrow for accents, wide for low ceilings or diffuse general coverage.
Warmer 2700–3000K suits living rooms and bedrooms. Kitchens, bathrooms and offices work better at 3000–4000K.
Select your room type below to view the recommended lighting setups tailored for optimal scale, spacing, and performance.
Choose recessed downlights with a medium beam angle to provide soft, even lighting across the room. A warm-white colour temperature of 2700–3000K creates a comfortable and relaxing atmosphere. As a general guide, allow approximately one downlight for every 1.2–1.4m² of floor area, arranged in evenly spaced rows. Keep fittings away from the very edge of the ceiling to reduce harsh shadows on the walls. Final quantities may vary depending on ceiling height, beam angle and the brightness of the selected downlight.
General ceiling lighting is often not enough for food preparation, so install dedicated downlights directly above the bench or island. Space them approximately 600–800mm apart to create an even spread of light and reduce shadows cast by the person using the work surface. Select 3000K for a warmer residential look or 4000K for a cleaner, brighter task-lighting effect. Position the fittings over the working area rather than behind the user.
Downlights installed near a bath or shower must be suitable for damp conditions. Zone 2 is the splash-prone area immediately surrounding a bath or shower, generally extending 600mm beyond it and up to 2.25m above the floor. For fittings installed within this area, choose an IP44 rating or higher. Higher ratings, such as IP54 or IP65, provide additional protection against moisture. Because the exact bathroom zones depend on the room layout and fitting position, always have the required IP rating confirmed by a registered electrician before installation.
Use adjustable downlights with a narrow or focused beam to highlight artwork, textured walls or architectural details. Aim the light toward the feature at an angle of up to 30° from vertical. This helps create definition while reducing glare and strong reflections. Positioning will depend on the wall height, artwork size and beam angle, so adjustable fittings are recommended for accurate aiming after installation.
Choose a surface-mounted downlight when there is not enough ceiling cavity for a recessed fitting. The complete light sits below the ceiling line, so no large recess or cut-out is required. This setup is suitable for concrete ceilings, apartments, lower levels of multi-storey homes and renovation projects where access above the ceiling is limited. Check that there is still a suitable power connection and mounting point available.
Choose an architectural downlight for a cleaner, more refined ceiling finish. These fittings may feature deeper-set light sources, reduced glare, trimless installation, smaller apertures or premium finishes. They are best planned before the ceiling is completed, as some models require specific cut-outs, mounting frames, plaster-in components or additional ceiling depth. View the Architectural Downlights range and confirm the installation requirements before building or lining the ceiling.

Architectural Downlights

Adjustable Downlights

Fixed Downlights

Surface Mounted Downlights

Accent Downlights
Pairing two downlights side by side, rather than spacing them across the standard grid, gives a tighter, more considered highlight. It's a common treatment over kitchen islands, entryways, and along a feature ceiling strip, where the pair reads as one deliberate design move rather than two separate fittings.
Take the downlight's cutout diameter and halve it — that's the gap to leave between the two fittings. A tighter gap than that starts to look crowded; a wider one and the pairing loses its effect and just reads as two ordinary downlights.


Every LED downlight runs cooler and draws far less power than the halogen fittings standard in NZ homes built before 2010 — up to 75% less energy, and a lifespan of 25,000 to 50,000 hours against roughly 2,000 for halogen.
Halogen ~ 2,000 hrs
LED 25,000–50,000 hrs
Replacement
Halogen ~ Every 2 years
5 years or more
Halogen - High
LED - Low
Downlights connect to fixed wiring, so installation must be carried out by a licensed electrician for new installs and retrofits alike — DIY installation is illegal, unsafe, and can void your home insurance.
Loop your electrician in before you buy. The existing ceiling cutout size can limit which replacement fittings will fit without extra plastering, so it pays to check before you order
Pop into your nearest Lighting Direct showroom or get in touch, our team will talk through your room and point you at the right range.
no appointment needed.
Natalia was patient with our process of design and choice of lighting. Her support went way beyond our expectations. We would highly recommend her to any prospective customer needing assistance with lighting design.
The team helped us plan lighting for our whole new build. Clear advice, no pressure, and the 3D render made the decisions so much easier.
We couldn't be happier with how our living spaces turned out. Every fitting feels considered and the layout is exactly right for how we live.
You don't have any wishlists.